Registration Periods allow registration.
Registration Periods set registration dates and make items available for sale. Store items must be added to registration periods. For a registraion period containing only store items, not all fields are relevant. (Store items can be added to any registration period. In that case, irrelevant data will not apply to the store item even if entered).
INSTRUCTIONS
Registration Setup>Registration Periods
Search.
Click “create new”
The Registration Period Setup form populates.
- Tab One: Basic Information
- Registration Period Name: Name this Registration Period.
- Type of Registration Period: Choose Registration
- Status: Set to open for this period to automatically become available to registrants on the date for opening registration. If not set to open, the period will not be automatically available until admin changes the status to open.
- Year: Set the current year
- Season: Choose the appropriate season from the dropdown
- Tab 2: Registration Dates
- Registration Start Date: Todays date will automatically populate. Update as needed to control when the store opens.
- Registration Close Date: A future date will automatically populate. Update as needed to control when the store closes.
- Age Group Cutoff Date: A date will automatically populate. This will not impact purchases.
- Tab 3: Contact Information
- Contact Name: Contact Details for this Registration Period. This information will appear on the public homepage.
- Contact Email: Contact Email for this this Registration Period. This information will appear on the public homepage.
- Tab 4: Clone Registration Programs
- Use this to copy programs from another registration period. After adding the registration programs, be sure to save and visit the “go to” menu to review the programs for any necessary updates. This MUST be done before adding sessions (below).
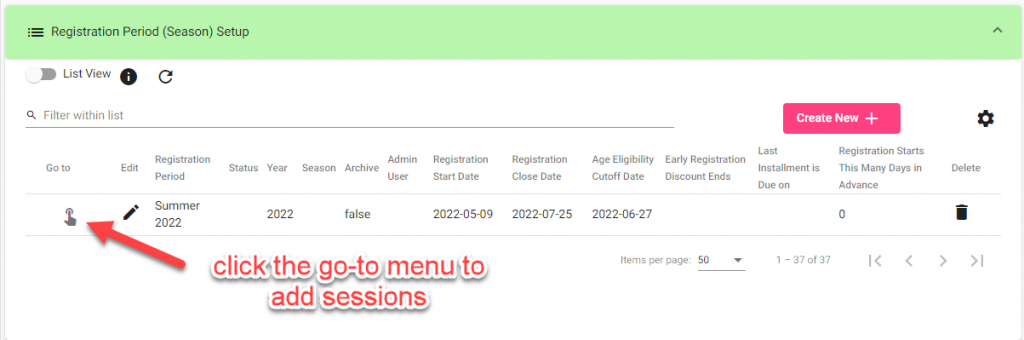
After saving, your new registration period will appear in a list.
- To update the registration period, click the “edit” button (a pencil).
- To make bulk or quick changes, toggle from list view to grid view. This turns the list of registration periods into a dynamic grid that can be edited and sorted.
- To add programs and other registration options, click the “go-to menu” (three horizontal dots).
PART 2: CREATE SESSIONS
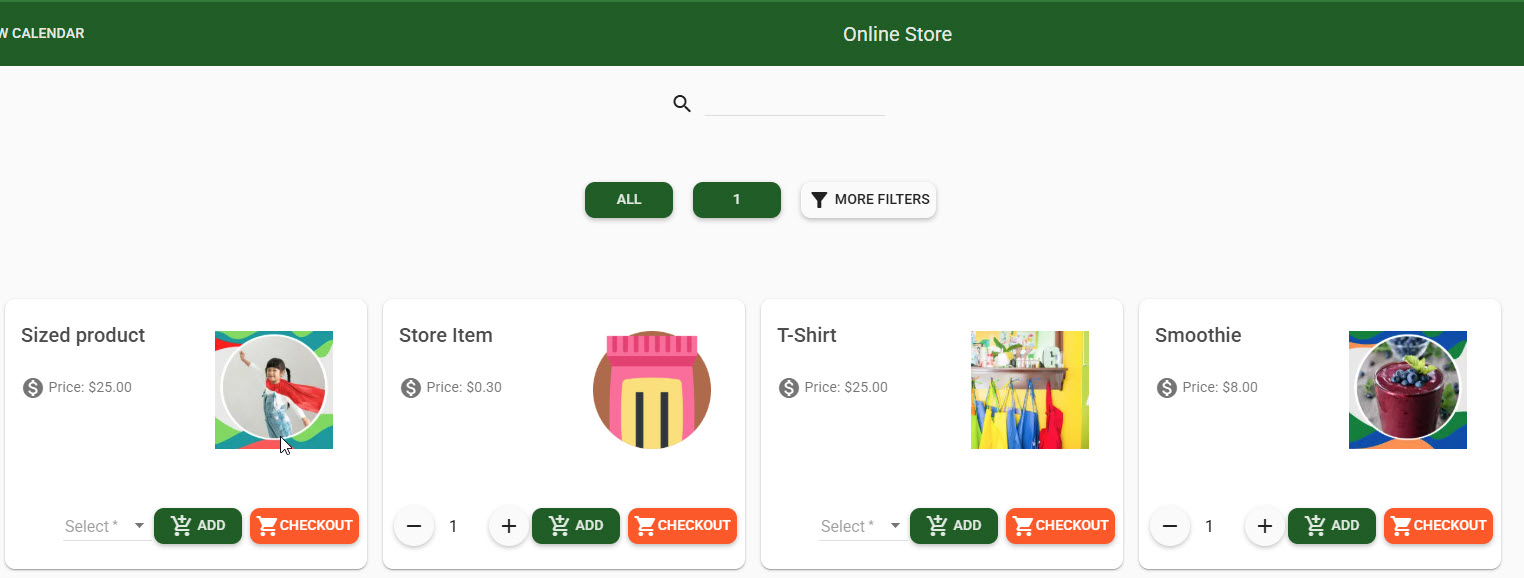
After creating a Registration Period, it’s time to add the Store Items.
Create a Session:
- Registration Setup>Registration Periods
- Search.
- A list of Registration Periods appears.
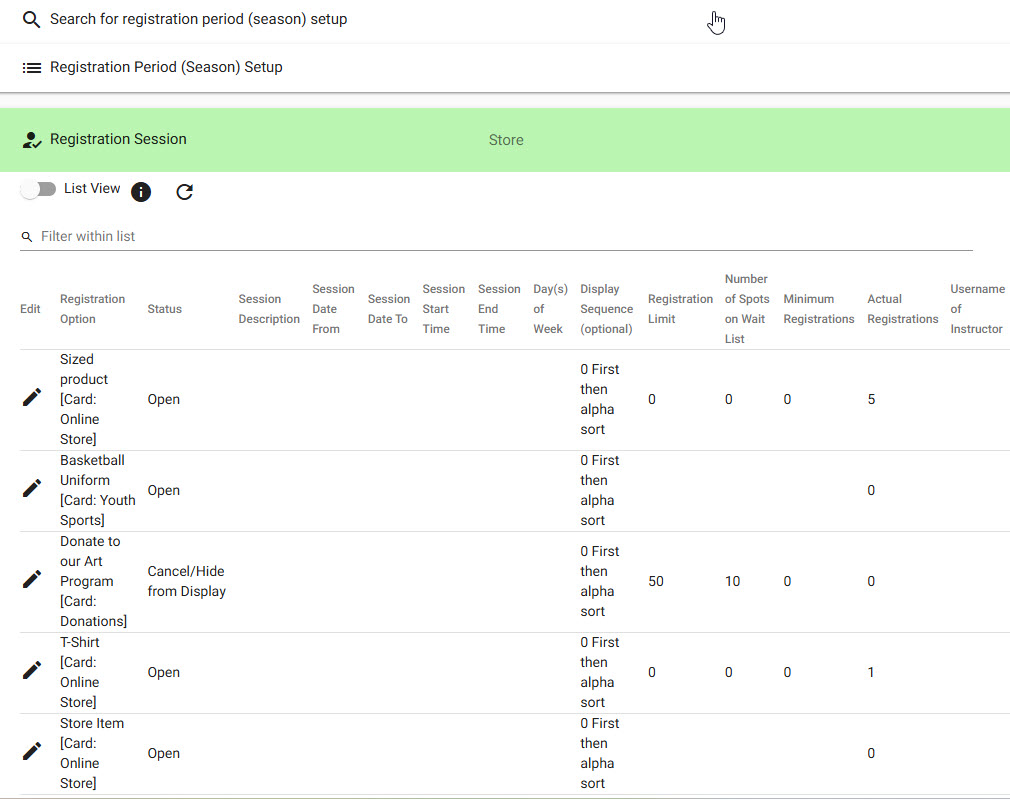
- Click the Go-To Menu. The session list populates.
- Click “create new” to add a new store item.
- Tab 1: Basic Information and Dates
- Registration Option: select the Store Item.
- If no store items exist, please add one. Follow these instructions!
- If the list of registration programs is long, consider typing the first letter of the program name while scrolling. This will jump to this letter in the list.
- Status:
- Set this session to open.
- Registration Option: select the Store Item.
- TIP: For a Single Session, this is the only information required on Tab 1. Proceed to Tab 2.
- Tab 2: Capacity
- Registration Limit: Enter the number of items in the current inventory.
- Actual Registrations: use this to see if there are existing registrations. No sessions with existing registrations can be deleted.
- Team Registration Count: for team registrations. Create a limit of teams.
- Tab 3: Administrator & Location
- Select a facility to reserve a location for this session. Used if using facility management. Facilities must be created first to use this feature. Facility will display on session listing. This facility will appear as booked and cannot be double-booked.
- Save and repeat for additional sessions
Sample Scenario:
Updated 6/1/25