Account Management Tools for Customers
All customers can update their accounts from their household account. This is handy for customers who want to update their account and for customers who must provide more account information in order to register using Quick Registration.
This feature can be accessed in three places:
- Customers can update via their household account.
- An “update my account” option can display on the homepage.
- Customers can update a contact during POS ticket purchase
Each method takes the customer through the same user interface, which resembles registration.
Update via the Household Account:
Instructions:
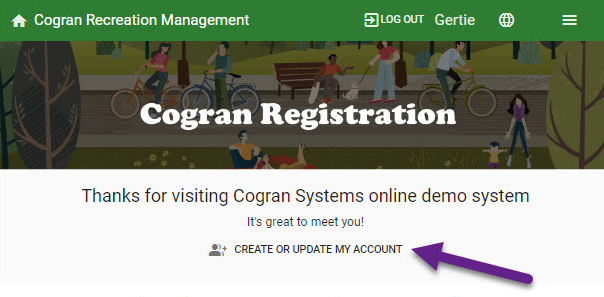
- Visit the Cogran Front Page
- Log into the user account
- Click the menu to open the household account options
- Click “update my account”


- A new page loads.
- The page displays the primary adult contact on the account. To update this information—usually address, phone number, and emergency info. Update as needed.
- After updating, click “save and continue to participants.”
- A list of participants will appear. Select to update the form fields for this contact. Or, click add a participant to add another person to the account.
- Save
- Click “back to participant list” to continue editing or “back to previous page” to return to registration process.
Add an Update My Account Button to the Front Page
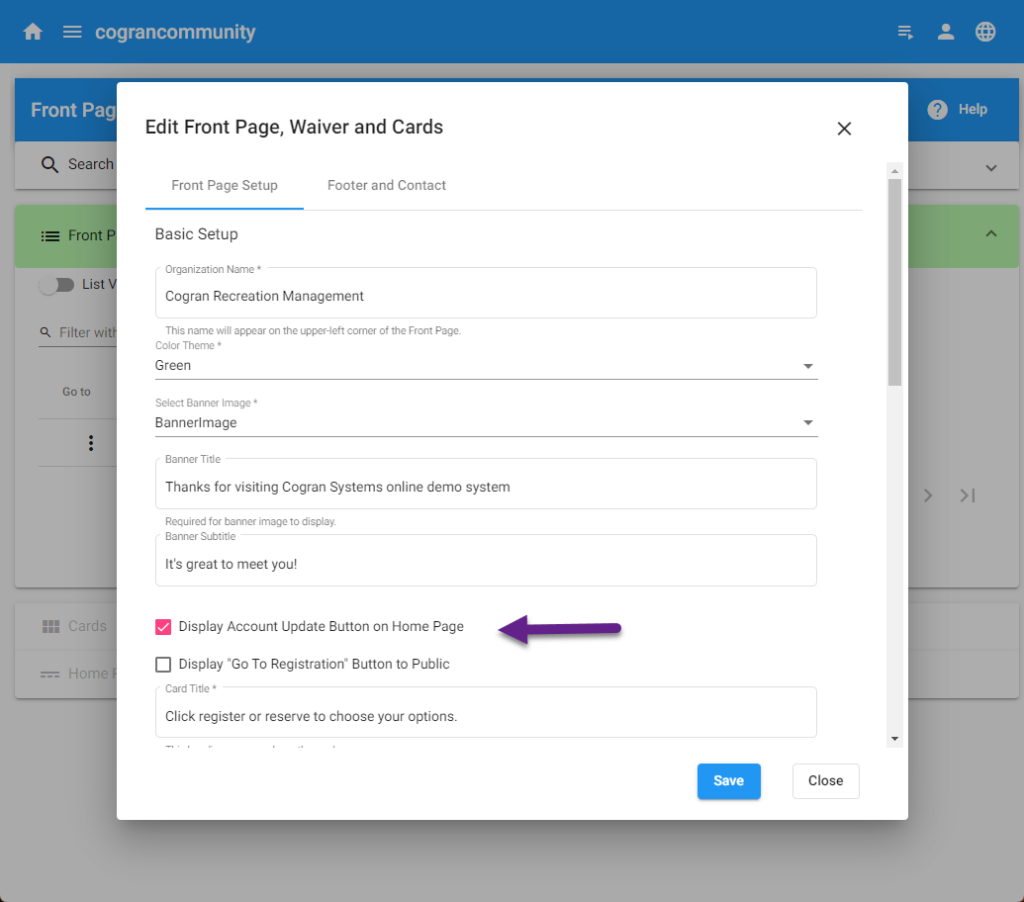
Add a “Create or Update my Account” button to any Cogran Front Page. To turn this on, visit the back office.
- Front Page, Cards, and Media Library
- Front Page, Waiver and Cards
- Search.
- A list appears. Click the edit pencil.
- Check the box “Display Account Update Button on the Home Page.”
- Save
Remember to publish!
- Front Page, Cards, and Media Library
- Front Page, Waiver and Cards
- Search.
- A list appears. Click the edit pencil.
- Check the box “Display Account Update Button on the Home Page.”
- Save
Update Household Accounts from Ticket/Quick registration
Quick Registration is, by design, a registration that doesn’t usually require much information for a participant. In some cases, an organization does require more information about a customer—for example, their name on a ticket, or their emergency contact info. This option is available during POS registration only, as this information is normally captured during registration.
Instructions:
- Visit the Front Page
- Shop for programs, tickets, memberships, or passes on a card set up with POS-style checkout
- Add the registration item to the shopping cart.
- Log in as a member of the public: click “I have an account—sign in”
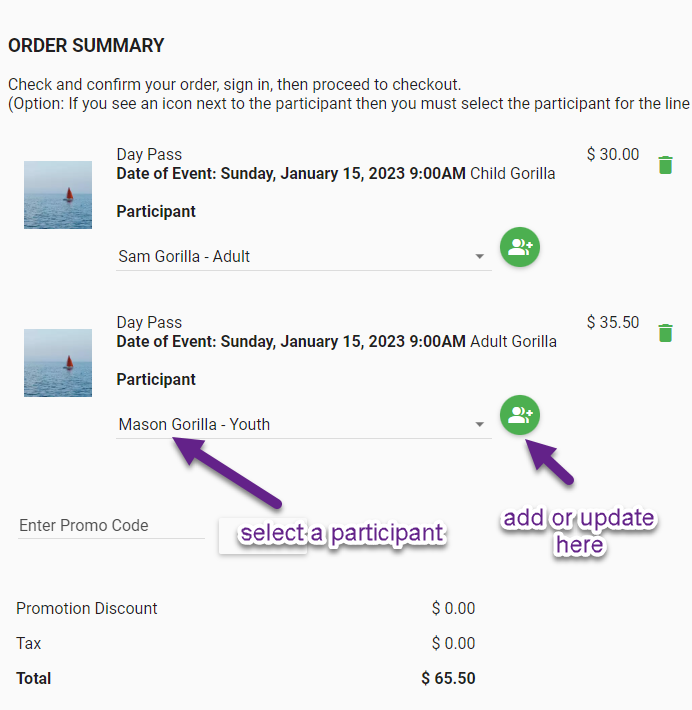
- A new field appears. It is now an option to select a participant to assign the program. This is especially useful for memberships, day passes, and other personal purchases that might not be available to every household member.
- If the contact does not appear in the list, visit the household account to add a customer.
- Click the button at right of the participant selection option.
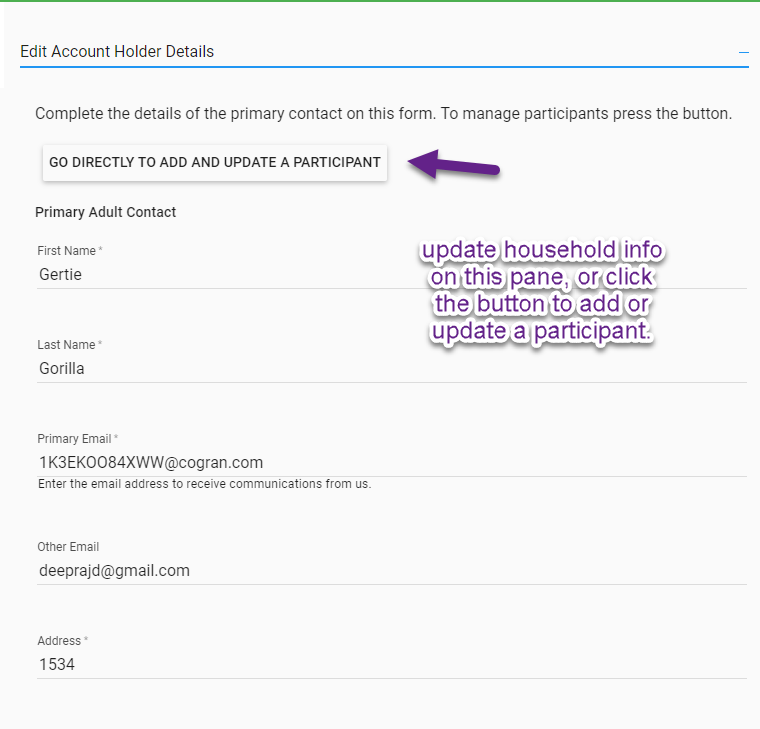
- A new page loads.
- The page displays the primary adult contact on the account. To update this information—usually address, phone number, and emergency info. Update as needed.
- • After updating, click “save and continue to participants.”
- A list of participants will appear. Select to update the form fields for this contact. Or, click add a participant to add another person to the account.
- Save
- Click “back to participant list” to continue editing or “back to previous page” to return to registration process.
- Complete your transaction by selecting the new contact and confirming or paying.
When used: When tickets will be distributed to guests or family members; when people are adding non-family members to an account for programs like senior bus trips, and when a program must be assigned to a particular participant to be valid, such as a day pass or membership