This help is designed to help with any “more info” option in Cogran. More info has HTML editor options that allow extensive customization.
How to Update More Info
To update more info, the first step is selecting a program, card, or other registration option.
- Registration Setup>Registration Program>Search>Select or Create New
- Front Page, Cards, and Media Library>Front Page>Search>Select Front Page>Go-To menu and choose Cards
Facility Setup>Search>Select a Facility>Go-to Menu and choose Facility Availability - Scroll to the “More Info”
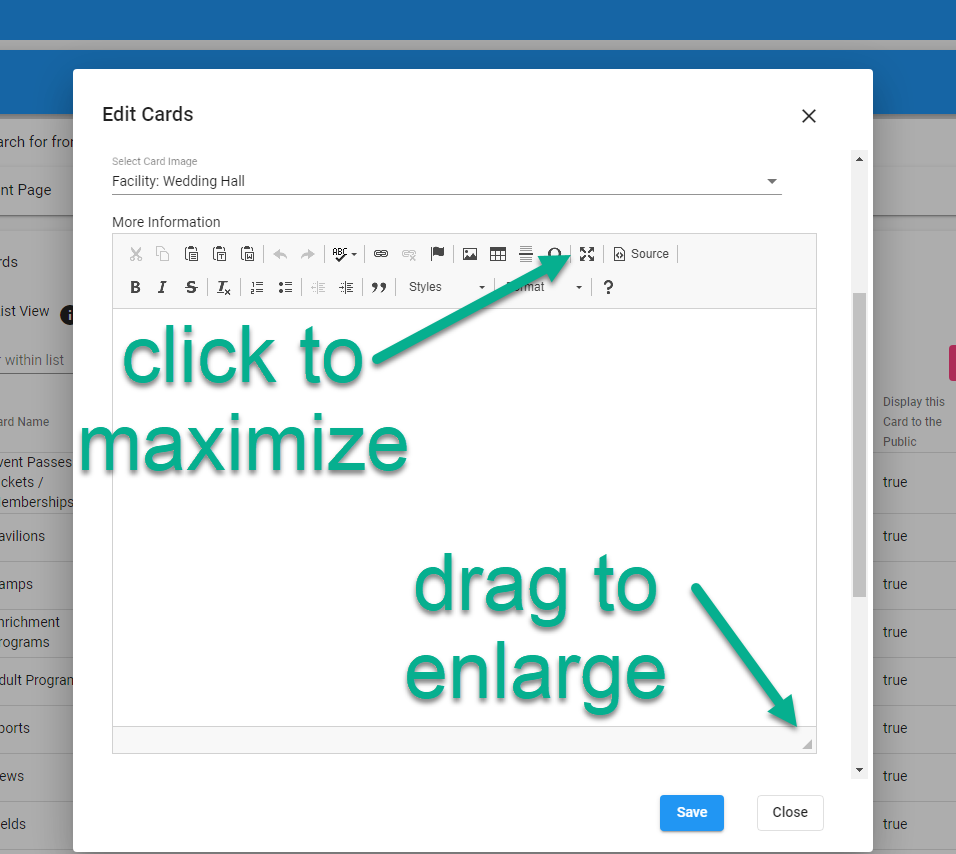
Tip: If your more info box seems small, click on the x icon to maximize, or drag the bottom right-hand corner to enlarge.
Get ready to add content:
Before adding your content, a few tips:
- Upload any images into your Media Library as “cards.” Your images should be 400x200px.
- Make sure your content is not longer than about 4,000 characters.
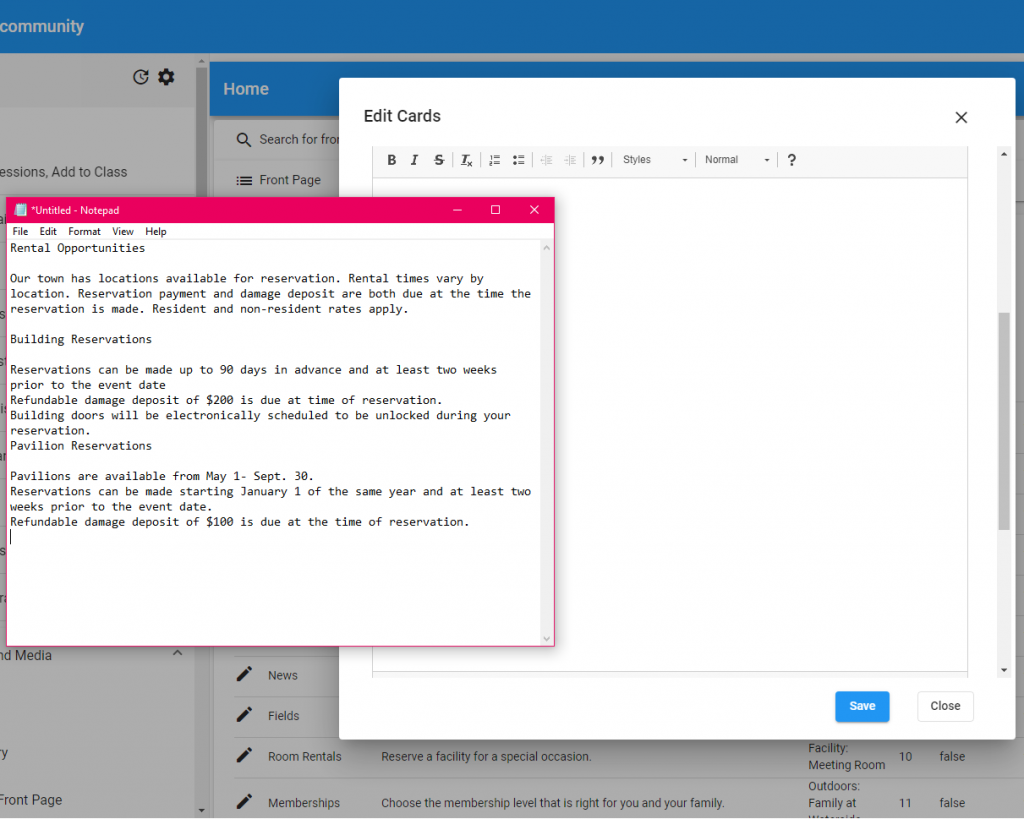
- If pasting content from any other source into your website, strip any code from the text by pasting it into notepad (a note program that is automatically installed on computers. Find it by searching for notepad on a windows PC or TextEdit on a Mac).
Add Text
If adding text from notepad, paste using typical cut and paste methods of ctrl+c or by right-clicking the mouse to expose options.
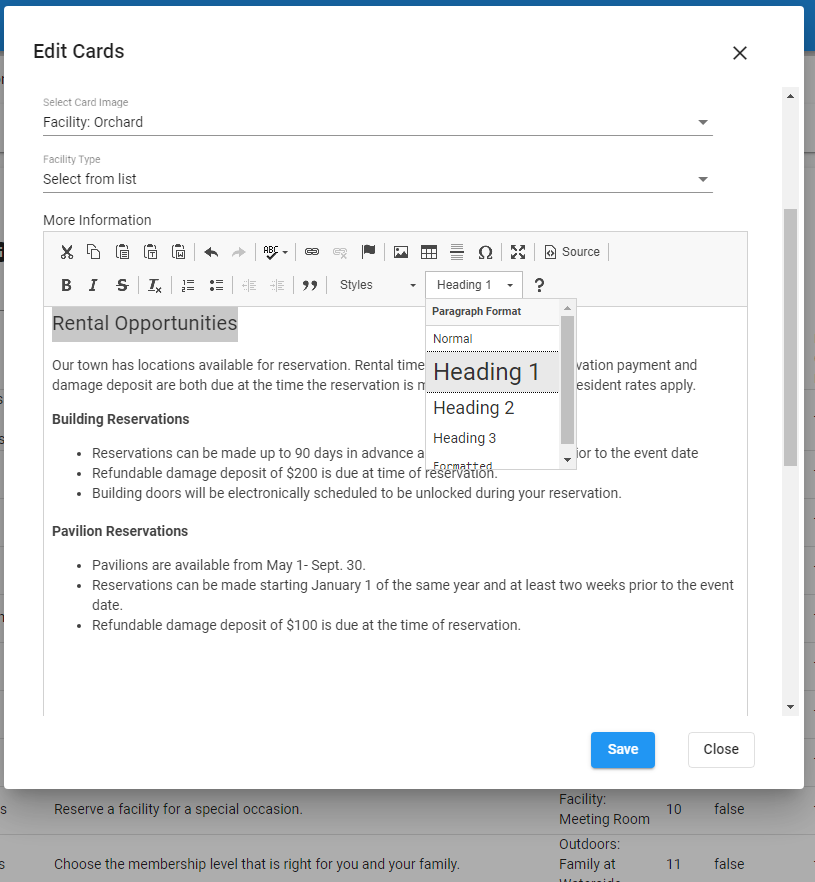
If typing, type as usual! Use the formatting options to format text. Bold, italic, strikethrough, underline, lists, styles, and headings are all accessd through the menu of the More Information text editor.
Tables and lines can also be added using options in the text editor.
Explore the ways your text can be displayed in order to make it most appealing and readable!
Tip: Use the spellcheck! (ABC)
Add Hotlinks
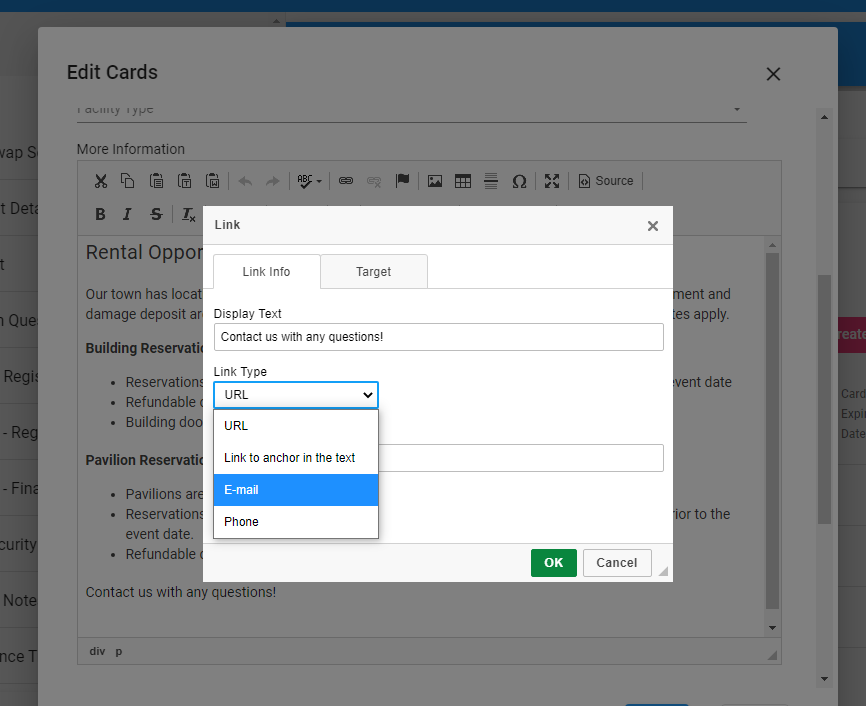
- Click on the link icon.
- A form appears.
- Enter the text to display (if text is selected, it will appear here)
- Choose the type of link:
- URL
- If URL, enter the protocol (http or https) and the URL
- On the next tab, choose Target: New Window (_blank)
- Email
- Add the email address
- Optional: Enter a message subject to auto-populate in the customer’s email
- Enter a message body to auto-populate
- Phone
- URL
- Save
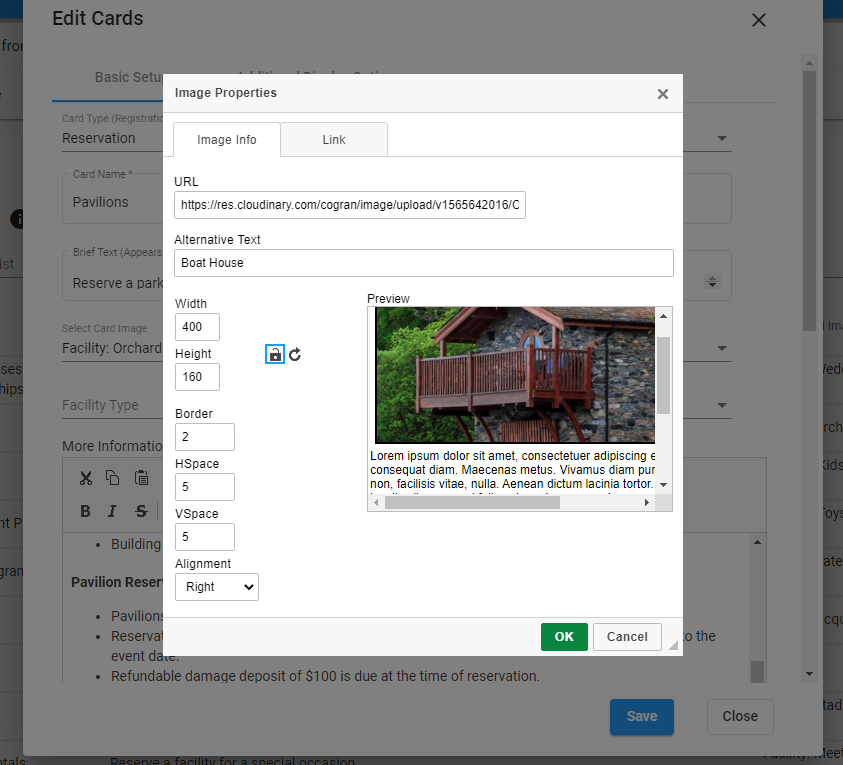
Add Images
- Click the space you wish to insert an image. Click the small image icon in the edit menu.
- A form appears
- Paste the URL of the image you wish to add. (follow these instructions).
- Add alternative text for screen readers or in case a reader’s email is set not to display images
- Resize if needed by changing the width and height. W should be approximately 400.
- Set a border if desired. This border is a black line that outlines the image.
- Set H Space and V Space. This is height and vertical space around the image, which can make the text wrap nicely. Use 5 for each if desired.
- Set alignment if needed (the preview will show the image in relation to the text). Right alignment is recommended.
- On the next tab, hotlink the image if needed.
- Paste in the URL.
- Required if a URL is set: set the target to New Window (_blank)
- Save.
Remember to PUBLISH the Front Page to make sure that images display!
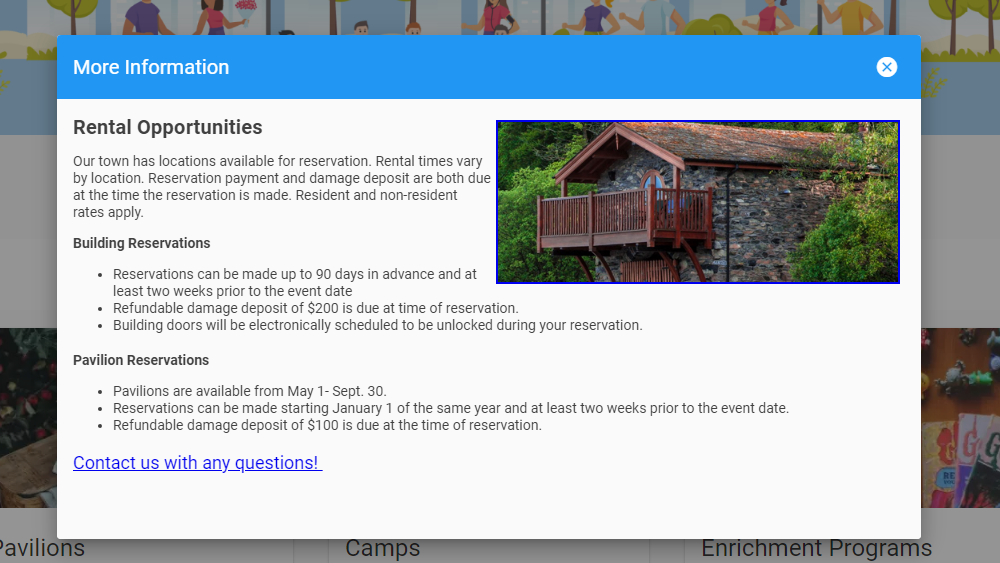
Check out your work! In this example, more info looks like this.
If Text or Images don’t display:
- Remember to publish the Front Page
- If most of the content is showing, but the end is being cut off (including images), the length may have been exceeded. The length may be HTML formatting or even long URLs for images. If that’s the case, try tinyurl to shorten the link for an image!
- Check the HTML. Click the icon that says “Source”. If you make any changes in code view, toggle back to the HTML viewer before saving.
HOW TO VIEW AND COPY HTML:
- Open the html file, which will open in a browser window (like a web page does).
- Right-click with your mouse. The HTML will display.
- Copy this HTML and paste it into your notepad. (not Word)
- For great, browser-specific instructions, click here!
We highly recommend testing after any changes. Perform the action that willl trigger your email, being sure to use your own email address to receive the email, then wait for it to arrive!