Create a Ticket
Tickets are a quick way to sell one item for multiple prices using the POS transaction style. Tickets, with session dates, times, and capacity, are an effective way to handle groups with timed admissions, to organize one-time events, and to sell tickets.
Before setting up a ticket, set up a POS style card, which will allow the transaction style required for tickets. Follow these instructions to set up a card, if needed. Be sure to select the card type for a POS registration.
When used: Tickets are used to create tiered pricing registration options that work in the POS system for quick checkouts.
TIP: Tickets do not have special fees, discounts, or installments.
INSTRUCTIONS
- Registration Setup>Add a Ticket
- Search>Click Create New
- Tab One: Basic Information
- Name: Enter the name of the program **Required
- More Information: Include as much additional information as needed.
- Card Category: Choose the POS card category
- Preview Image: By default, the programs will display with a simple checkmark. By adding an image, the program can be more customized to an organization. Select an image from the list.
- Account Code: Set a code for this program. Programs can share account codes. Account codes are useful for financial reporting.
- Tab 2: Prices
- Price: Enter a base price. All discounts will be calculated from this price. **Required
- Ticketing: Enter prices for each participant type. Add the name of the option and the price. Use this precise formatting:If only one ticket price: namecolonprice. This looks like: Adult:35.5
- If two or three prices: namecolonpricecommanamecolonprice
- This looks like: Adult:35.5,Child:20,Senior:10
- Tax Code: If tax is applicable, set the tax rate here. Cogran comes pre-loaded with the common tax rate of 6.5%. To change this option, contact support@cogransystems.com
- Save
- Choose Registration from the left menu
- Select a Registration Period you have created, or follow these steps to create a new one. Follow the steps to add a registration option to this registration period.
Scenarios:
Timed-entry tickets: Create a ticket, then add it to a Registration Period. Add the same ticket for as many sessions of your event as required. Set each session with a date, start time, and end time. Set a capacity. (Session Setup>Dates). Each session is an individual ticketed session.
Tickets with more than one price: Add tiered prices to the ticket
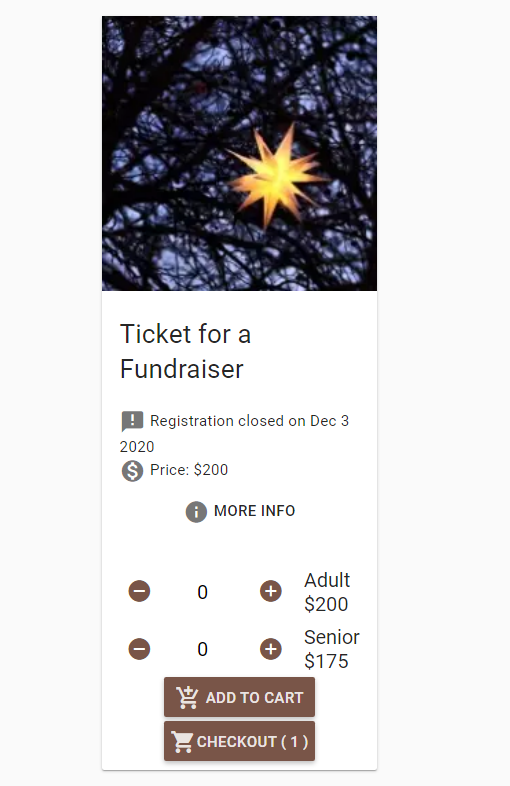
Customer Experience:
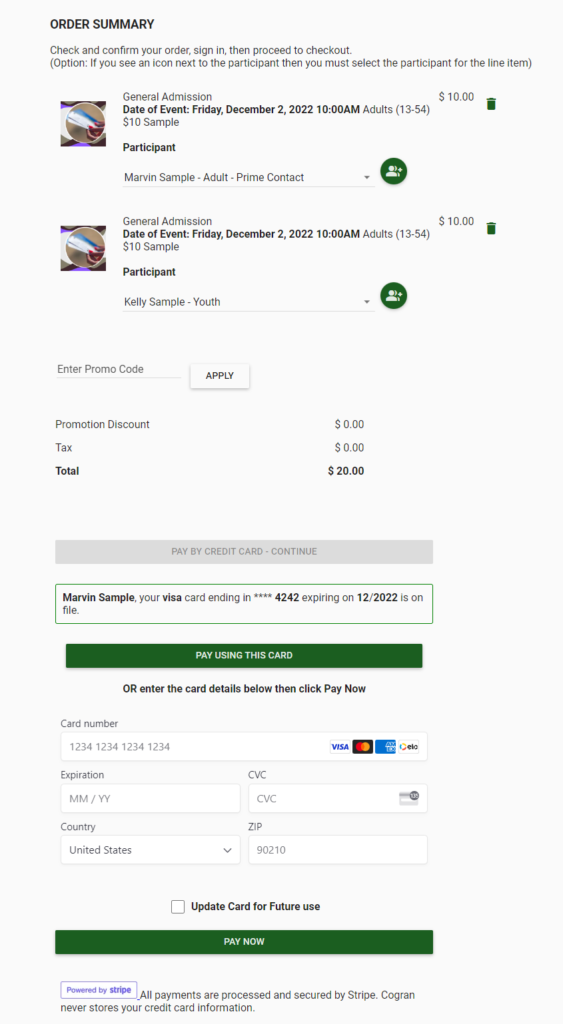
When selecting a ticket, shoppers are able to choose their price from a tier of prices. When they decide to check out, they will have the option to log in or create a new account.
After login, they are able to select which household member will be assigned to each ticket, if desired. To update or add a participant, click the person-plust button. Click here for more info.
To pay, the customers will click “Pay By Credit Card – Continue.”
Then, further panes appear, allowing a customer to choose to use a saved credit card or add a new card for use.
Click Pay Now to process.
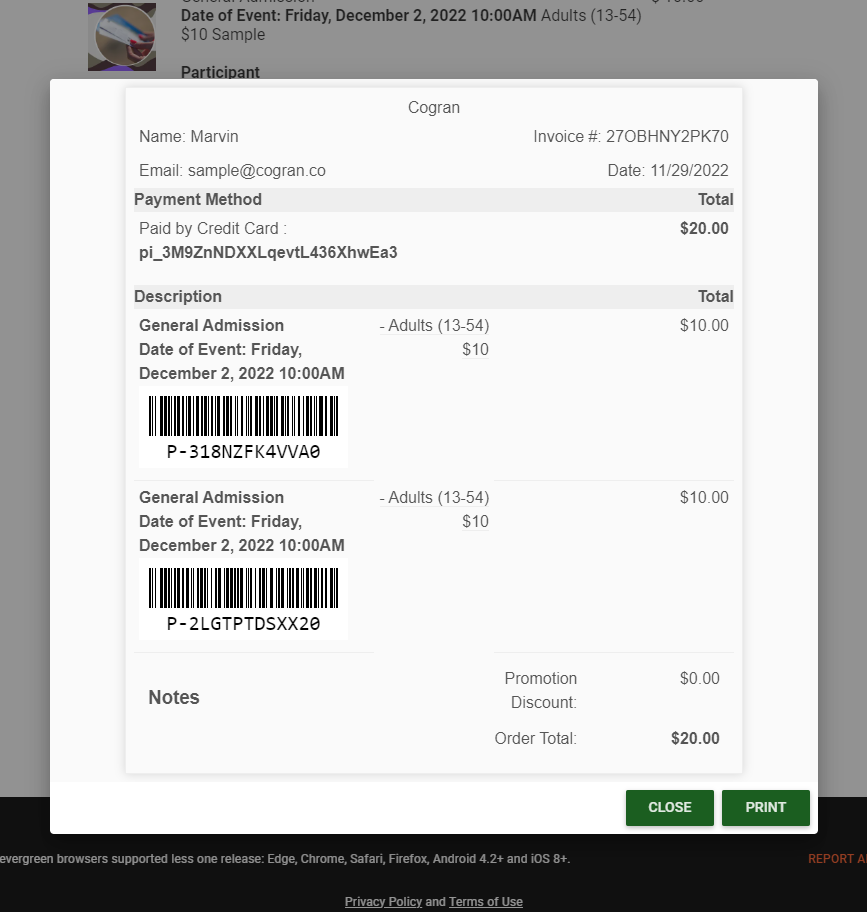
The option to print a receipt will appear. All customers will also receive a confirmation email.